
When decided to kick off sewing for the first time for the new year 2011, i kept thinking what to do, (i thought in between my domestic chores, remember i am back after vacation and have loads of laundry to do!) kept thinking and before i realized it was already evening, now with limited time available and mindset firmly stuck to 'Sew Something' for the day, i had no option but to take the plunge.
Thank god i had no confusion in whom to sew for, of course for my DD as it is my first sewing for the year and remember she is my muse!
So i decided to do the Drindle skirt or the simple rectangle piece turned into skirt
There are just 6 Steps to right from cutting to sewing:
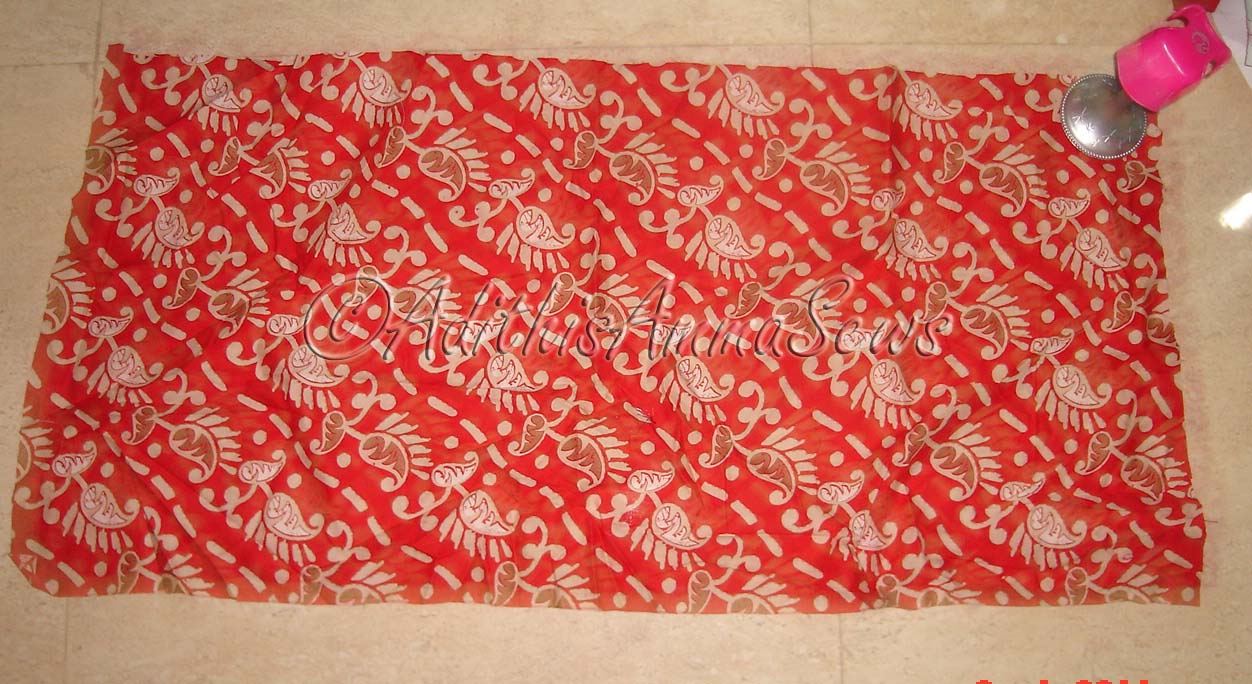
- Cut out rectangle fabric with following dimensions
breadth = waist round * 4
length = height desired + 1 inch for hem + 1 1/4 inch for waistband
Rectangle Fabric 
- Join the one and only seam (i have done french seam as the fabric was unravelling a bit too much)

- Fold the waist band 1/4 inch press and then fold again by 1 inch and press and stitch; remember to leave about 1 inch open to loop through the elastic


- Fold, press and stitch the hem
- Take elastic measuring - (waist round required - 2 inches) + 1 inch for joining the elastic ends together
Loop elastic through the waist band opening, take care the elastic doesn't get twisted while doing so;
Once you reach the other end of the waistband opening, overlap the ends about 1/2 inch and stitch them to secure the same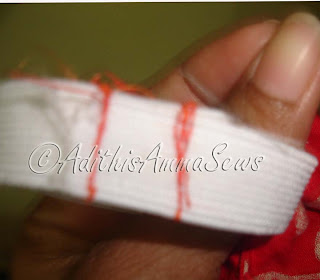
- Now stitch and close the waistband opening


I have added a trim at the hem; you can embellish as desired or wear it as it is. My DD will get to wear it tomorrow as it is Friday and she needs a skirt to pair with her T-shirt for Friday.

Tidak ada komentar:
Posting Komentar